How to set up Pinterest Rich Pins (and why it’s important)
It’s easy to set up Pinterest Rich Pins. And they add valuable traffic and audience building features. Find out why it’s so important and follow the step by step instructions.

This post contains affiliate links, which means if you click a link and make a purchase, I may receive a small commission or benefit. There is no extra cost to you and I only recommend products I use personally and love!
Imagine you could get new people to visit your blog or website. Without paying a cent in advertising or other promotions. Pinterest is delivering on that promise every day for those in the know. But if you want to use Pinterest to build your blog or business, the secret weapon so many people miss is Rich Pins
The process is simple and quick and the benefits are significant. But you will need to have a Pinterest Business Account and claim your website before you get started.
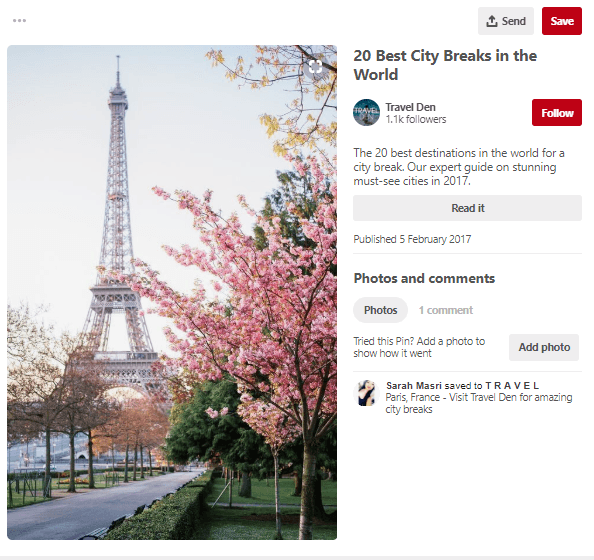
Pinterest Rich Pins add additional details to your Pins and your website name and icon. This makes it easier for people to find your profile, provides more detail and a call to action to encourage them to share your Pin or click to find out more on your website. There are four types of Rich Pins available – Product, Article, Recipe and App.

Rich Pin

Ordinary Pin
If you’ve read the instructions from Pinterest you may be feeling a bit overwhelmed. But there’s a really easy method to set up Pinterest Rich Pins for WordPress
How to set up Pinterest Rich Pins in WordPress
- Install the free Yoast SEO Plugin. Hopefully you’re already using this for SEO on your site. If not install it and activate.
- Log in to your WordPress website. In the dashboard left side menu, hover you mouse over SEO and click on Social in the menu that appears. A new window will open and in the tabs, click on Facebook. Under the Facebook settings make sure Open Graph meta data is set to Enabled.

- Now got to your website and copy the URL for one of your blog posts (not the home page). It doesn’t matter which post it is.
- The final step to set up Pinterest Rich Pins is to open the Rich Pins Validator. Now paste the blog post URL and click Validate.

If everything is set up right, you will get a confirmation message on the page. In the past, I’ve sometimes had problems with the validation if I try to claim a website then set up Pinterest Rich Pins at the same time. If you experience problems, wait a day or two and try again. This always solved the problem for me.

SquareSpace provides information on its support site for users who want to set up Pinterest Rich Pins.
If you follow these steps you can set up Pinterest Rich Pins quickly and easily. What are you waiting for? It’s free, easy to do and you get all these extra benefits.
My favourite Pinterest Tools
Schedule pins, join tribes to source content and get shares of your content, analytics. Get a FREE trial, no credit card required.
Loop pins in your own boards, automate sharing of your pins to group boards. Get a FREE trial, no credit card required.
Create your graphics, including pin templates. Free forever option available.
Got questions about how to set up Pinterest Rich Pins?
Join my free Facebook Group for updates to join the conversation and to ask any questions about how to set up Pinterest Rich Pins.
